A beautifully captured portrait is just the beginning. Editing is where you refine the details, enhance the mood, and bring your creative vision to life. Whether you're making quick adjustments or crafting a signature look, a solid editing workflow ensures consistency and quality.
In this guide, we'll walk you through a step-by-step mobile editing process using CaptureNoire’s Tone Effects, along with tips for working in Lightroom and Photoshop for advanced retouching.
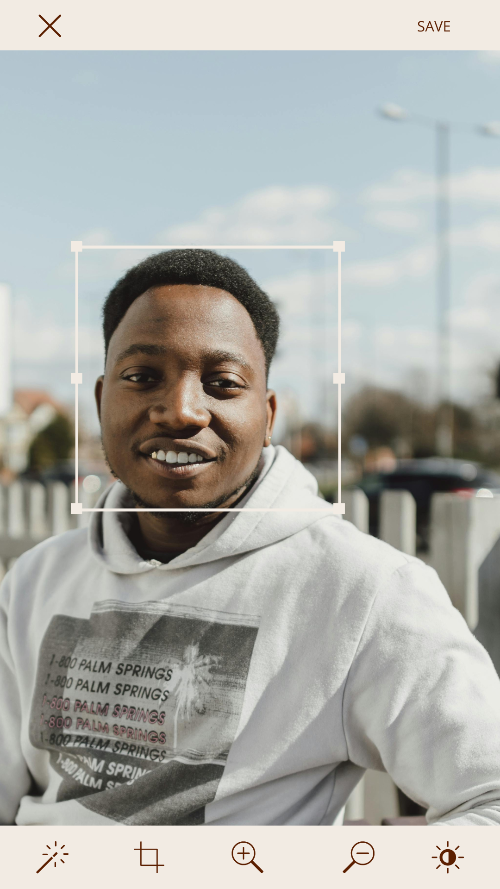
Step 1: Start with a Strong Base Image
Before diving into edits, ensure your original shot is well-lit and in focus. A good photo will give you more flexibility during editing.
Use RAW format when possible for more editing flexibility.
Avoid heavy shadows or overexposed highlights—correcting extreme lighting issues can be challenging.
Pro Tip: If the image is slightly underexposed, it's easier to recover details in editing than from an overexposed shot.
Step 2: Adjust Exposure & White Balance
Getting the right brightness and color temperature is key to a natural-looking edit.
Adjusting Exposure:
Increase or decrease Brightness to balance highlights and shadows.
Lift Shadows slightly to restore details in darker areas.
Use Contrast to add depth, but avoid overdoing it.
Fixing White Balance:
If the skin looks too cool or blue, slightly increase the Temperature.
Reduce green/magenta shifts for natural-looking tones.
Compare your edits to a neutral reference (like a white wall or gray card).
Pro Tip: Skin should look rich and natural, not overly warm or washed out.
Step 3: Enhance Skin Tones with CaptureNoire’s Tone Effects
Tone Effects are designed to bring out the best in melanin-rich skin, offering subtle but powerful enhancements.
Choose a Tone Effect that complements your subject’s natural complexion.
Adjust Strength to control intensity without over-processing.
If needed, fine-tune Saturation for a balanced look.
Pro Tip: Try different Tone Effects in various lighting conditions to find the perfect match for your style.
From here, you can export and save your image! For more advanced adjustments, keep reading for more tips.

Step 4: Fine-Tune Colors with HSL Adjustments
For more advance editing in Lightroom or other pro software, HSL (Hue, Saturation, Luminance) adjustments help refine colors without affecting the entire image.
Reduce Orange Saturation slightly to prevent overly intense skin tones.
Lift Red Luminance to add glow to deep complexions.
Adjust Blues & Greens carefully to avoid unnatural color shifts.
Pro Tip: If a subject’s skin looks too red or yellow, subtle tweaks in the HSL panel can correct this without losing warmth.
Step 5: Sharpen & Refine Details
Use Clarity & Texture sparingly for a polished look.
Apply Sharpening only to key facial features like eyes and lips.
Soften the skin slightly using Selective Editing (avoid excessive smoothing).
Pro Tip: If editing in Photoshop, use Frequency Separation for precise skin retouching without losing texture.
Step 6: Save & Export for Maximum Quality
Save in high resolution (JPEG or PNG for sharing, TIFF for professional prints).
Avoid extreme compression, which can cause loss of detail.
When posting to social media, resize images to fit platform specs for best display quality.
Pro Tip: For Instagram, export at 1080px width to maintain sharpness.
Conclusion
A strong editing workflow helps turn good portraits into stunning, professional-quality images. With CaptureNoire’s Tone Effects, you can enhance skin tones effortlessly while keeping your edits clean and natural. Whether you’re editing on your phone or taking your work into advanced desktop programs, these steps will help you create polished, powerful portraits that stand out.